Picture the last week of a remodel. The new kitchen looks great from the doorway. Then a cabinet door catches, there is a scuff on the fresh paint, and one outlet cover sits crooked. None of it is a disaster, but you wonder how to get it fixed without sounding picky. That is exactly what a construction punch list is for.
This guide explains what a punch list is, who writes it, and what belongs on it, with examples you can borrow. You will also get a final walkthrough checklist, a simple way to handle the last payment, and the traps that make people either overlook problems or turn small items into big fights. Figures were checked in November 2026. Contracts and state laws differ, so use this as a starting point for your own paperwork.
Quick answer
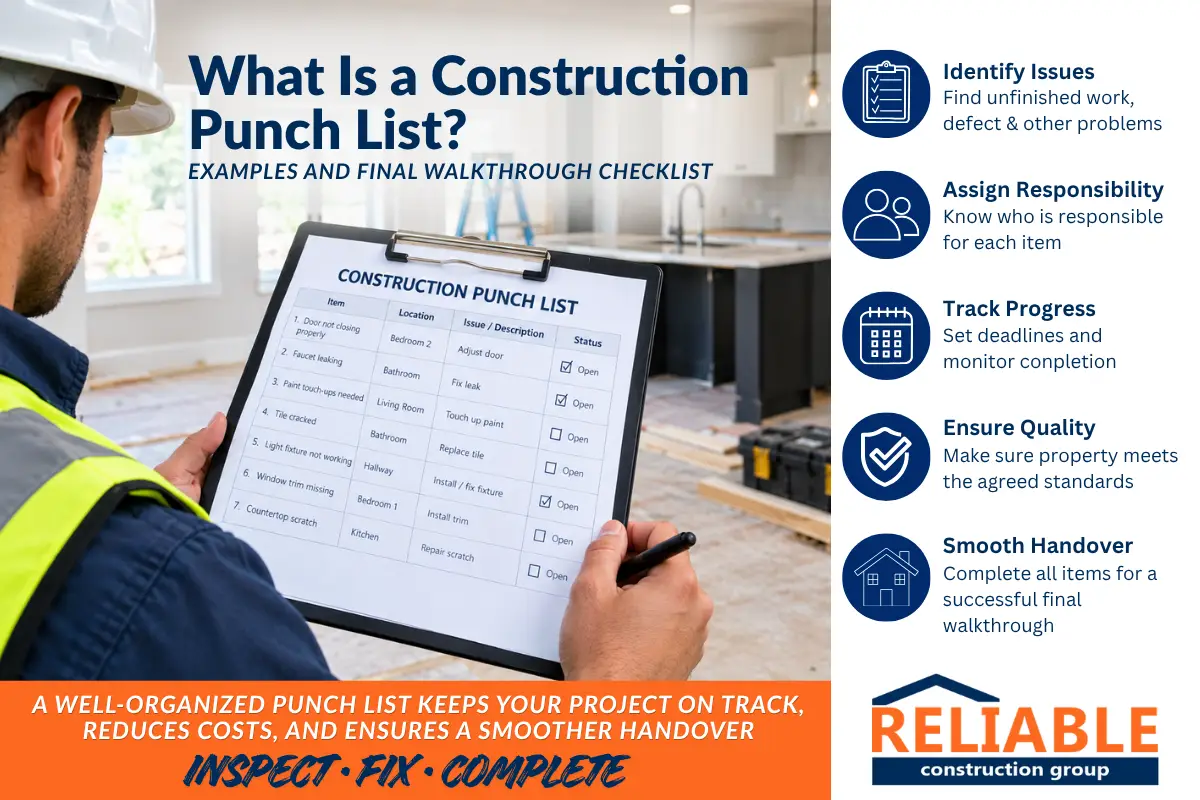
A construction punch list is a written list of small items that are unfinished, damaged, or not built to spec at the end of a project. You and the contractor build it during a final walkthrough, agree on a deadline, and tie part of the last payment to getting it done. Do your own pass first, record each item with a location and a photo, and hold back enough money to cover the work.
What a construction punch list is
A punch list is a written list of tasks, corrections, and touch-ups that must be done before a remodel counts as finished, as Phoenix Home Remodeling puts it. Alair Homes says the list is often built jointly by the homeowner and the builder’s staff during a final walk-through just before move-in, and that most items are minor and quick to fix. A contributor at HomeAdvisor gives two typical examples: back-ordered items and defective items.
Think of it as the gap between “almost done” and “done.” Electrical Contractor magazine notes that the term punch list rarely appears in a contract by itself, so it pays to spell out the process in writing before work starts.
Small first step
Check your contract today for three things: how substantial completion is defined, how the punch list is handled, and how much of the last payment depends on it. If any of the three is missing, ask for a short written addendum before the project ends.
Who writes it, and when
The usual trigger is substantial completion. Building Advisor explains that this means the project is complete and usable except for a few minor loose ends. At that point the owner and contractor walk through together and compile the list before the final check is written. Phoenix Home Remodeling adds that arguments over whether a project is truly substantially complete are among the most common conflicts at closeout.
On larger jobs, Bryan Construction says the list is typically prepared by the owner, the architect, or both, with the general contractor along to discuss each item and confirm who is responsible.
New construction adds a wrinkle. Inspect and Test, a home inspection firm, says people use “punch list” and “final walkthrough” interchangeably, but a punch list walkthrough is about finding and recording defects so the builder can fix them. The same guide says items noted before closing are generally easier to correct than problems found after crews move on.
Punch list examples by area
Most punch list items are small, which is the point. The table below groups common examples by area. They draw on the walk-through checklist and sample punch list from Building Advisor, which include a humming dimmer switch, a tub drain plug that will not hold water, gaps behind window trim, broken window screens, and cracked tile at an entry.
| Area | Common examples | Quick test |
|---|---|---|
| Electrical | Outlets or switches that do not work, loose cover plates, missing light bulbs, humming dimmers | Flip every switch and plug a lamp into every outlet |
| Plumbing | Leaking or slow drains, a tub that will not hold water, scratched fixtures, water that runs too hot | Run every tap, flush every toilet, fill the tub |
| Interior finishes | Paint touch-ups, nail pops, gaps behind trim, cracked tile or grout, uneven flooring | Look along walls with a flashlight and walk every floor |
| Cabinets, doors, windows | Doors that rub, drawers that stick, loose hardware, windows that are hard to open | Open and close everything at least twice |
| Exterior and site | Damaged siding or trim, gutters out of place, debris left behind | Walk the full perimeter in daylight |
| Paperwork | Warranties, manuals, and any required certificate of occupancy | Ask for a single folder of documents |
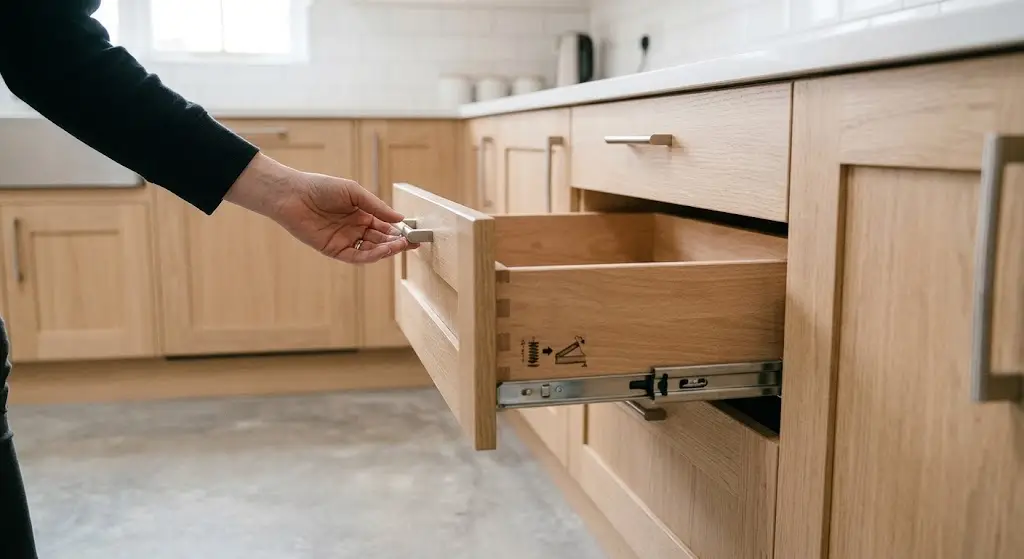
Every room has its usual suspects. After a kitchen project, test drawers, cabinet doors, appliances, and the plumbing under the sink. After a bathroom renovation, run the shower, fill the tub, and check the caulk lines. After a basement project, look for dampness, test every window and door, and check that floors and finished walls are even.
How to run the final walkthrough
A calm, organized walkthrough finds more problems and starts fewer arguments. Here is a simple order that borrows from several contractor and homeowner guides.
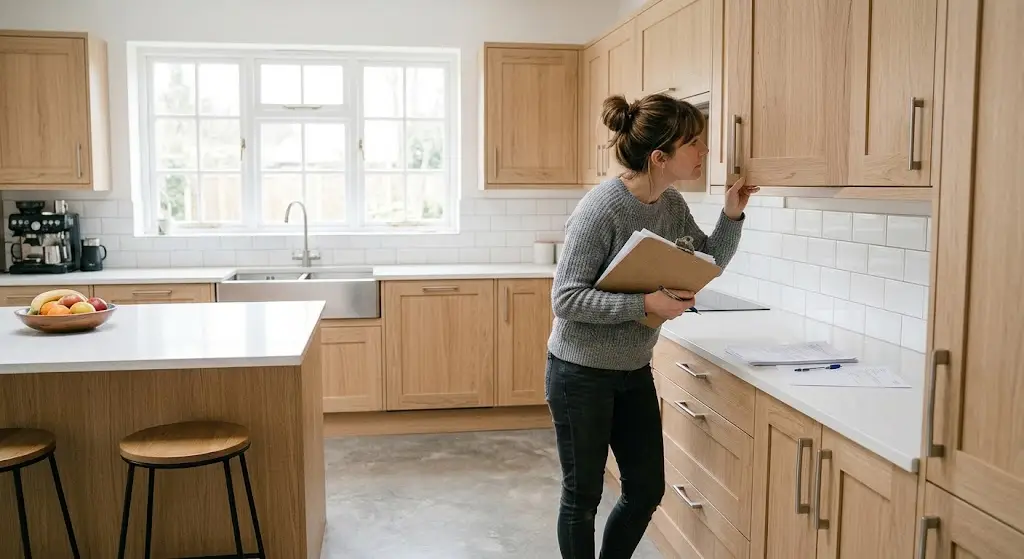
- Do your own pass first. Building Advisor recommends separate walk-throughs and separate lists before the joint one, because each side notices things the other misses. Take a spouse or friend and go slowly.
- Expect the contractor to pre-walk too. Bolster Built’s closeout guide suggests a contractor pre-walk first, then the client walkthrough, so basic misses are fixed before you arrive.
- Test, do not just look. Building Advisor suggests opening and closing doors and windows and running fans and lights.
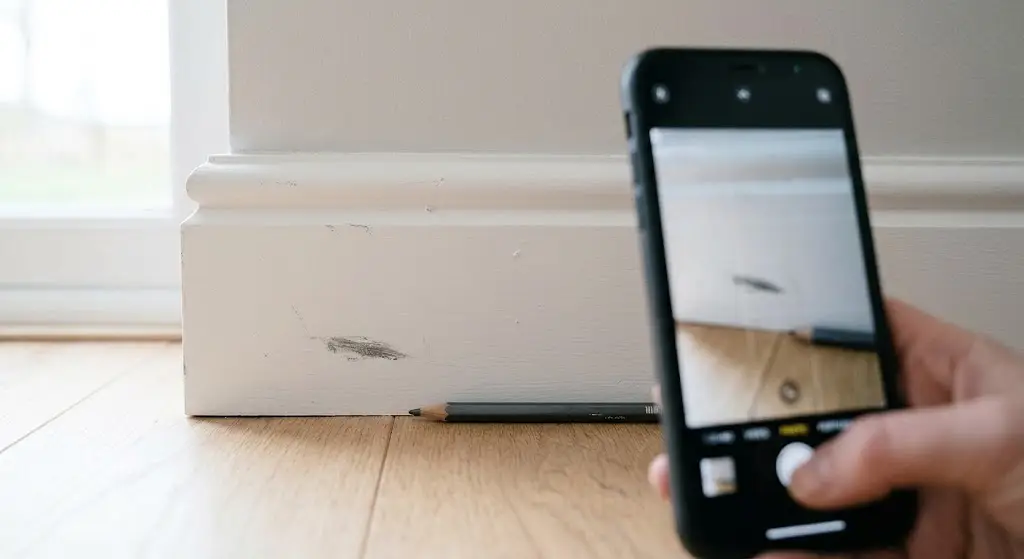
- Record each item with a location and a photo. Bolster Built recommends documenting every item this way. “Scuff on north wall of the pantry, 4 feet up” beats “fix the paint.”
- Walk together and merge the lists. Agree on what is on the list and who is responsible for each item.
- Get dates in writing. Building Advisor suggests asking for a written completion date for each item, with longer dates for special-order parts or weather-dependent work.
Final walkthrough checklist
Print this, or copy it into your notes app. It paraphrases the categories in Building Advisor’s residential walk-through checklist. Skip anything that does not apply to your project.
- ☐Every outlet, switch, and light fixture works, and cover plates are straight and tight.
- ☐Faucets, showers, toilets, and drains run without leaks, and the tub holds water.
- ☐Heating, cooling, thermostats, and the water heater work, with a safe water temperature setting.
- ☐Paint, walls, and ceilings are free of dents, nail pops, and missed spots.
- ☐Trim and moldings are tight with no open miters or gaps.
- ☐Windows and doors open, close, lock, and seal; you have every key.
- ☐Tile, grout, and stone are flat and unbroken, with flexible sealant at corners.
- ☐Cabinet doors close properly, drawers glide, and hardware is tight.
- ☐Appliances are the right models and colors, and they run.
- ☐Flooring has no stains, lumps, or gaps beyond what the contract allows.
- ☐Exterior finishes, gutters, and grading look right, and debris is gone from the site.
- ☐You have manuals, warranties, and the certificate of occupancy if your project requires one.
Final payment and holdbacks
Building Advisor says most contracts call for full payment minus money held back for punch list items at substantial completion or when the certificate of occupancy is issued. It suggests tying the last big payment to both. St. Paul’s residential improvement guide makes a similar point, warning homeowners not to sign a contract that fails to make final payment depend on final inspection and approval by the city. That clause gives the contractor a reason to fix problems.
There are two different pots of money here. The first is retainage, a share of the contract held until the job is substantially complete. Building Advisor says retainage is typically 5% to 10%. A Florida construction attorney’s guide calls 5% to 10% common, and Brick Underground suggests withholding about the same until every item is finished.
The second pot is the punch list holdback, which you keep after releasing the rest. Guidance on its size varies:
| Source | Suggested holdback for punch list work |
|---|---|
| Building Advisor | At least twice the value of the items, and more for small, annoying ones |
| ProRemodeler | Up to 150% of the cost of each item |
| Phoenix Home Remodeling | Two to three times the estimated cost, where the contract allows it |
Why the spread? Contracts and state laws differ, and the goal is the same: enough money to hire someone else if the work stalls. Building Advisor notes that many states allow an owner to hold about 150% of the reasonable cost to complete contested work. Electrical Contractor magazine points to a court decision suggesting that withholding an excessive amount can put the owner in the wrong. Phoenix Home Remodeling says withholding the entire final payment over minor items is generally not appropriate once substantial completion is reached.
Example (our arithmetic, an estimate): say you and the contractor agree the punch list items are worth $1,500. A 150% holdback is $2,250, 200% is $3,000, and 300% is $4,500. On a $30,000 final payment, that leaves $27,750, $27,000, or $25,500 to release at substantial completion.
Check lien waivers before the last check
Building Advisor suggests asking the general contractor for signed final lien waivers from major subcontractors and suppliers before you release the final payment. Lien rules vary by state, so confirm the right form with a local attorney.
General information, not advice
This article is general information and not legal or financial advice. Contracts, holdback limits, and lien rules vary by state. Have a local construction attorney review your contract before you withhold money or dispute a final bill.
Deadlines and stalled lists
Once you agree on the list, set a deadline. Building Advisor suggests asking for a time commitment of one to two weeks, and Phoenix Home Remodeling says most items should be done within one to two weeks of the walkthrough. It calls anything past four weeks a follow-through problem. One remodeler writing in Journal of Light Construction describes putting in his own contracts a limit of 30 days from the final inspection by the building authority.
Special-order parts and weather can justify longer dates for a few items. Put those dates in writing, along with the reason.
If the list stalls, stay calm and keep records. Building Advisor says that unless the contract or state law sets a time limit, the standard is a reasonable amount of time. Its suggested path is a written notice that gives the contractor a reasonable deadline and says you may use the held-back funds to hire someone else. Keep copies of letters and notes of calls, and consider having an attorney review the notice first.

Punch list, warranty, or new work?
Not everything that bothers you belongs on the punch list. Sorting items into the right bucket keeps the final payment from becoming a fight about the wrong thing.
| Type | Example | How it is usually handled |
|---|---|---|
| Punch list item | Missing trim, scratched fixture, paint touch-up | Fixed before the holdback is released |
| Warranty item | An appliance stops working months after completion | Handled under the warranty, not the holdback |
| Gray area | A sticking window | Building Advisor says that until you accept the work, fixing it is the contractor’s job |
| New work | A new request, such as adding an island | Needs written pricing as a change order |
A remodeler quoted by Journal of Light Construction says he specifies what is covered by warranty so that a later breakdown, such as an air conditioner stopping, does not hold up final payment. On cost, a Building Advisor Q&A says that on a typical fixed-price contract the contractor pays for punch list work, since it is needed to finish the original scope. Cost-plus contracts can be murkier, so read yours.
What counts as a defect
This is where disagreements start. A visible lump in drywall or an uneven gap around a cabinet door may meet the contractor’s standard but not yours. Building Advisor says the best answer is already in the written specifications, which is one more reason to get clear specs before work begins.
For a neutral yardstick, the National Association of Home Builders publishes its Residential Construction Performance Guidelines. NAHB’s blog says the sixth edition includes over 340 guidelines across 13 major construction categories. Building Advisor cautions that some of those standards fall below what many customers expect from a custom home or remodel, so use them as a reference, not a ceiling.
Looking at finished work also helps you calibrate what clean corners and tight joints look like. Browse photos of completed work, or study a master bathroom project, a finished basement example, and a full kitchen project in Downers Grove. Your own contract and specs still decide the standard.
Three traps at the finish line
Finish-line fatigue. After months of dust and decisions, waving things through feels tempting, and sunk cost makes the list feel like nitpicking. Schedule the walkthrough when you are rested, in good daylight, with at least a couple of hours. Be reasonable, but do not be a pushover.
The “while we’re at it” request in disguise. Wanting something new, like a kitchen with an added island, is a design change, not a defect. Electrical Contractor magazine tells contractors to give written notice of cost and time if an owner’s list includes extra work. Keep new requests off the punch list and price them separately.
Timeline optimism. “Just a few quick fixes” can stretch when a part is back-ordered or a trade has moved to another job. Ask for dates, ask which items depend on special orders, and plan around the longest one.
FAQ
What is a construction punch list in simple terms?
It is a written list of small items still unfinished or wrong at the end of a project. You and the contractor create it at a final walkthrough, agree on who fixes what and by when, and tie part of the last payment to its completion.
Who pays for punch list work?
On a typical fixed-price contract the contractor pays, according to a Building Advisor Q&A, because the work is needed to fulfill the original scope. Cost-plus contracts can be less clear, so check yours.
How long should a contractor have to finish it?
Building Advisor and Phoenix Home Remodeling both point to one to two weeks for most items, and a contractor in the Journal of Light Construction cites 30 days from final inspection in his contracts. Special-order parts can justify longer dates. Put any dates in writing.
Can I withhold the whole final payment?
Usually not. Phoenix Home Remodeling says withholding all of it over minor items is generally not appropriate once substantial completion is reached, and many contracts allow a reasonable holdback instead. Check your contract and your state’s rules, and talk to a construction attorney before withholding money.
Is a punch list the same as a final walkthrough?
They overlap but are not identical. A home inspection firm explains that a punch list walkthrough is about finding and recording defects, while the final walkthrough confirms the home and agreed fixes before closing or move-in.
What if I find a problem after I sign off?
Building Advisor says problems that appear after completion are usually handled as callbacks or warranty issues, and that holding money back after the punch list is done is not standard. Report issues in writing soon after you find them.
Final thoughts
A punch list is not an insult to your contractor. It is the last quality check that lets everyone close the project with confidence. Do your own walkthrough, record every item with a location and a photo, agree on dates, and keep a fair holdback until the work is done.
Start with one small step: read the closeout language in your contract this week. If it is thin, ask for a short addendum now, while everyone is still on good terms. A calm finish is much easier to get than a rescued one.
Wrapping up a remodel or addition?
Ask for a written closeout process, with a punch list, deadlines, and a holdback, before the first day of work. It keeps the finish line calm for everyone.